Learn · First steps · 4 min read
Getting started
Ten minutes from nothing to a working shared list.
Sign in
Go to app.wodo.co and sign in with Google or Microsoft. There is no password to invent. Wodo never stores one. If your company later connects its own identity provider, you'll sign in through that instead; if you're invited as an outside collaborator, you can use a passkey. More on that in Sharing your work.
Join or start an organization
Most people arrive by invitation: a colleague invited you to an organization or to a specific space, you clicked the link in the email, signed in, accepted, and the work is already there. If that's you, skip ahead to Add items.
Starting fresh instead? Then you create the organization (the container for your team) and its first space: the place where one stream of work lives. A project, a team, a client engagement; whatever unit makes sense to you.
When creating a space you make two choices you can mostly wave through for now:
- A template. Templates pre-fill a space with labels and structure. Pick the simplest one; everything it sets up can be changed later. See Templates for how organizations build their own.
- A storage region. This decides where the space's content is physically stored: EU, Canada, more as they come. See Your data and your privacy.
Finding your way around
You'll spend nearly all your time on one screen, so it's worth a quick tour. Here's a space already in use, with the parts worth knowing numbered. One rule makes it click: the left edge is about this one space; the top bar is about you and getting around.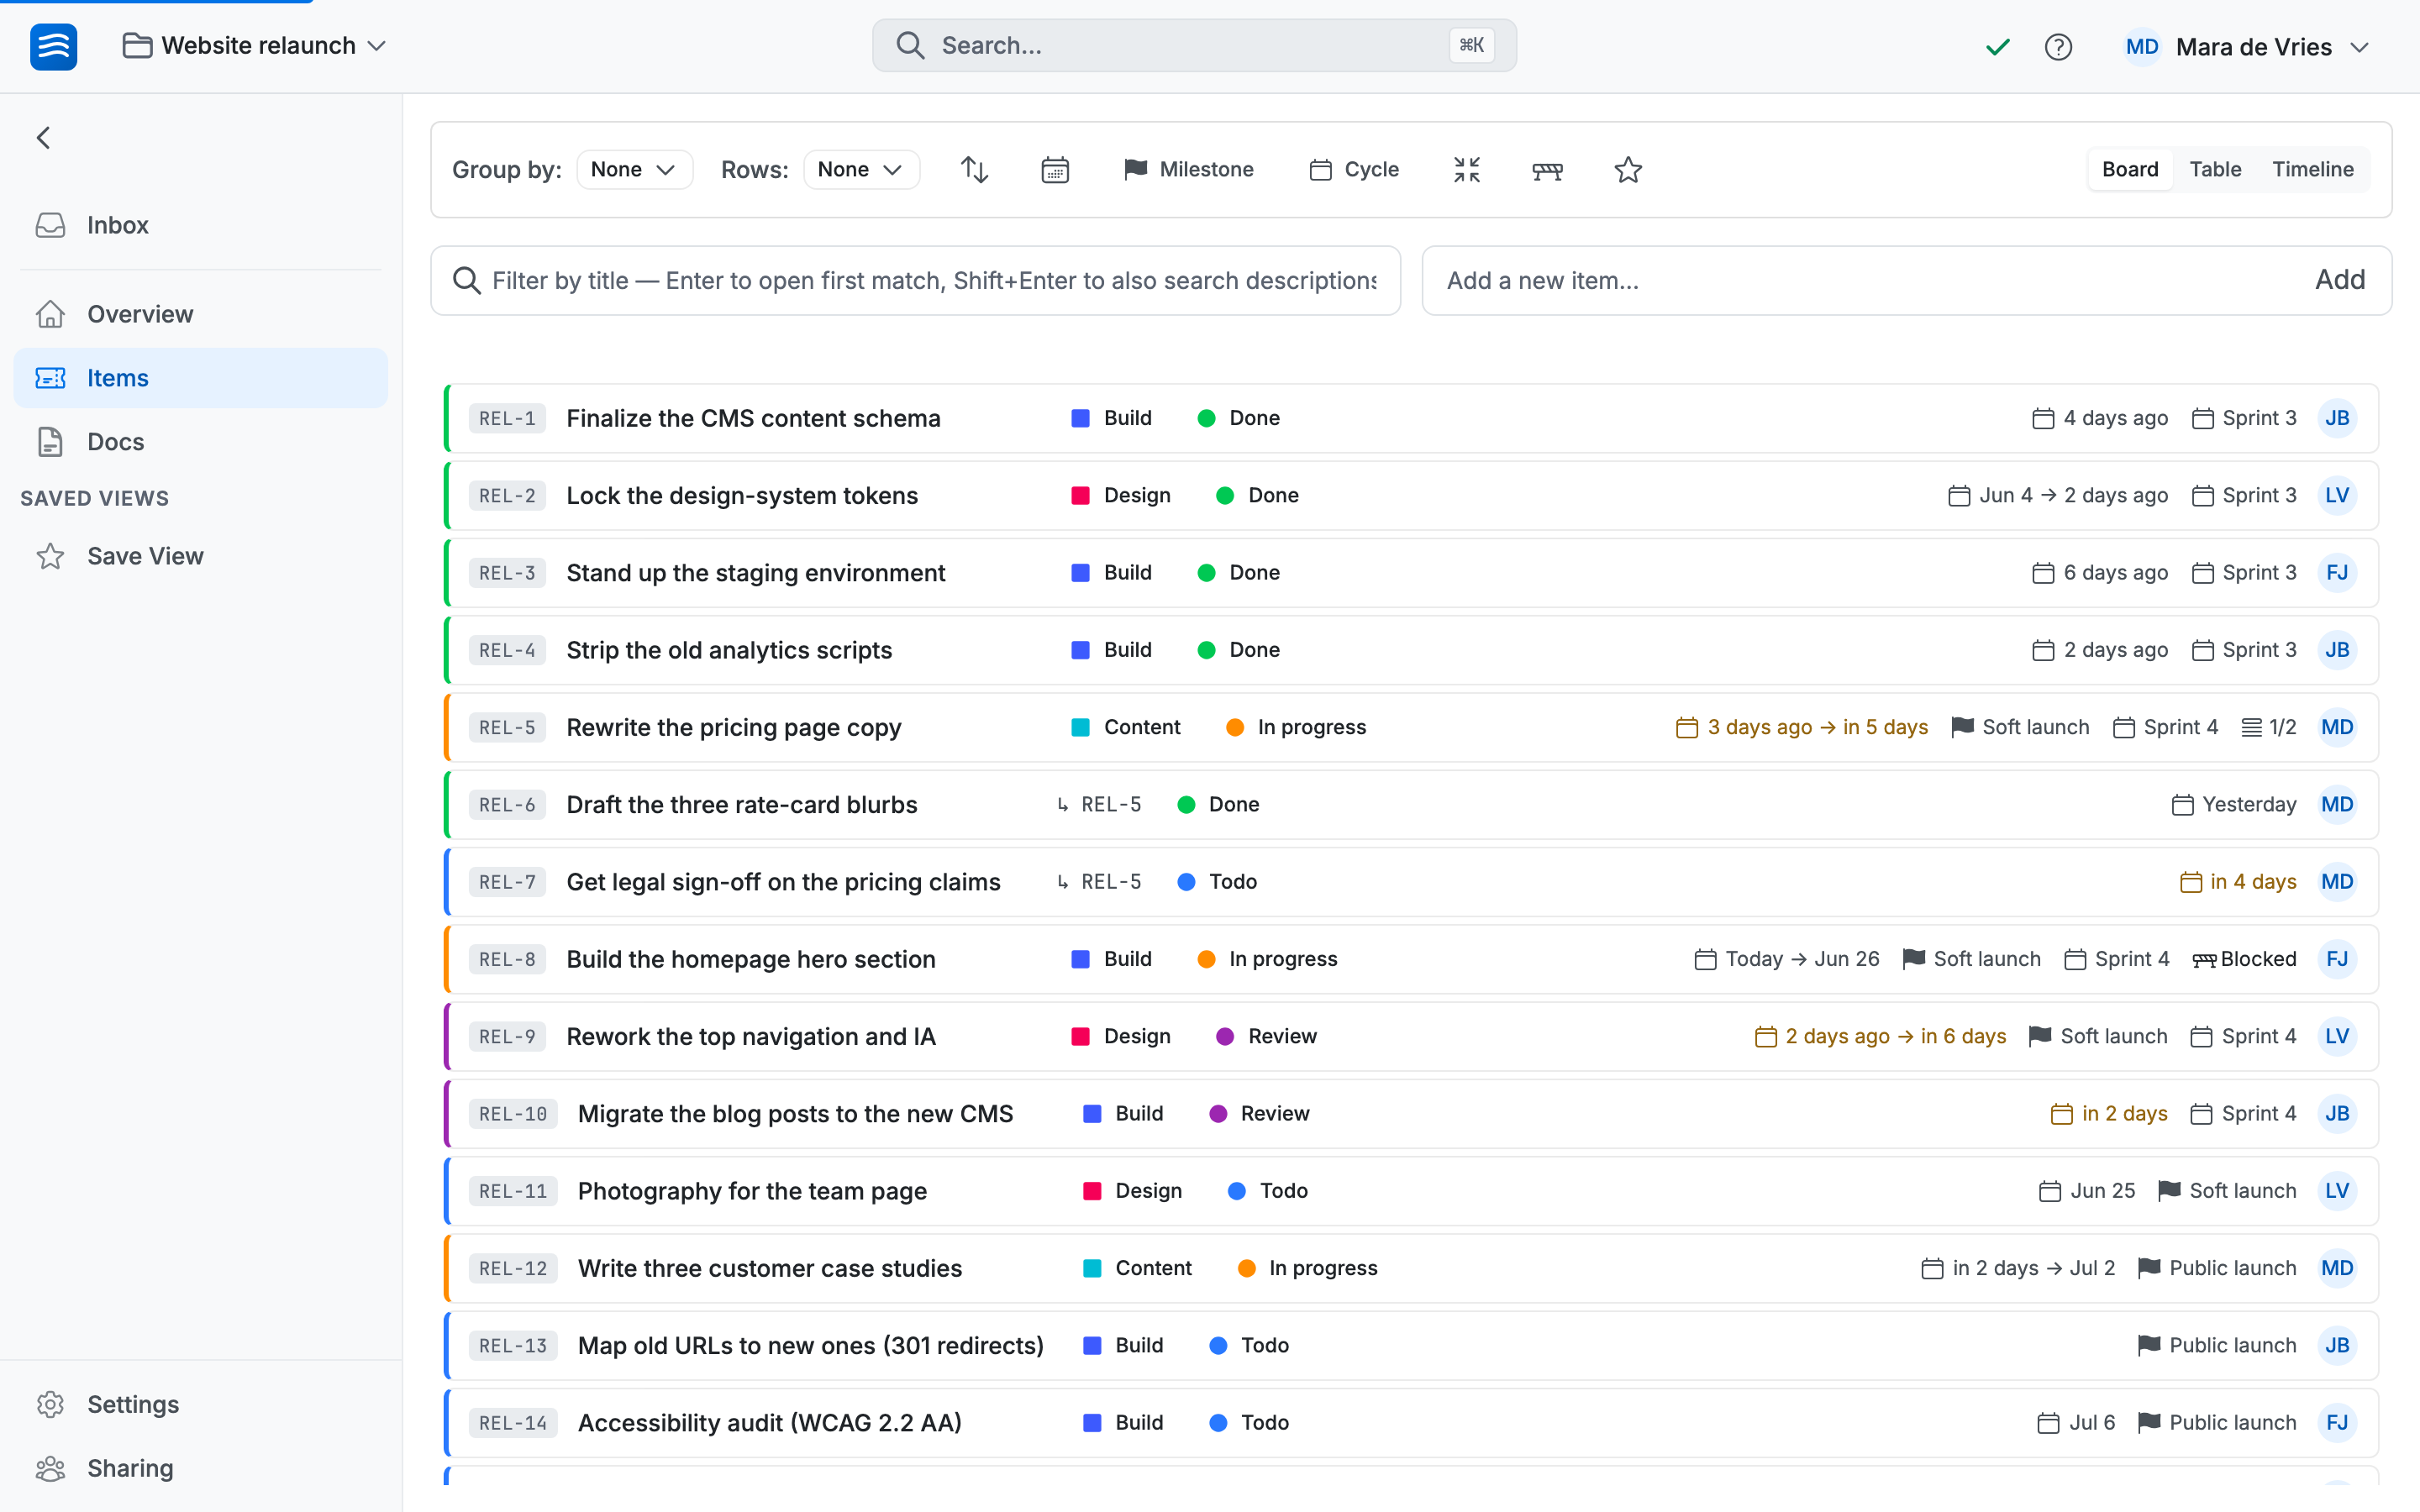 1234567
- Space picker — the space's name, top-left. Switch spaces here; if you can create them, New space is in the same menu.
- Search — find any item, doc, or space. ⌘K (or Ctrl+K) opens it from anywhere.
- You — your avatar, top-right: account settings and sign-out. Organization admins also reach the org's settings, members, billing, audit log, and integrations from here.
- Your views — the left rail lists the ways to look at this space: Inbox, Overview, Items, Docs, and any Saved Views (a filtered, grouped slice someone saved).
- Settings & Sharing — bottom-left, both specific to this space: Settings (labels, milestones, and the rest; space admins only) and Sharing (who gets in).
- Add a new item — the box near the top of the main area. Type a title and press enter; N jumps your cursor here from anywhere.
- Board · Table · Timeline — top-right of the main area: the same items in three shapes. It's a lens, not a move.
Add items
An item is one piece of work. Press N (or click the Add a new item box) and type a title. Press enter, type the next one. Five items take thirty seconds.
Your items appear as cards on a board with columns like Todo, Doing, and Done. One thing worth knowing immediately: those column names are not built into Wodo. They're values of a label the template created, and you can rename them (or replace them entirely) at any time. That's the next page.
Move work along
Drag a card from Todo to Doing when you start it, and to Done when it's finished. Click any card to open its detail panel: add a longer description, a due date, a person responsible.
If someone else is in the space, you'll see their changes appear as they make them. No refresh, no save button.
That's it
A shared list where everyone sees the same live state. That's a complete way to use Wodo. If that's all you need, you're done; the rest of this manual will wait. When you're curious what the cards themselves can do, read on.